What is the critical path method in construction management?
A project roadmap will help you see what must be done to achieve your goal, and the critical path method can help you do so. It is a method of project management that involves identifying key tasks and critical tasks required to complete a project.

This technique can be used to manage task dependencies and set realistic timelines. Learn more about the critical path method and how your team can apply it to improve project timelines.
What is the Critical Path Method(CPM)?
CPM (critical path method) allows you to identify the tasks required for project completion and allow you to adjust your scheduling. To complete the project, you must complete the sequence of project activities on time. Delays in the completion of critical tasks can cause delays to the rest.

CPM is about identifying the most important tasks within a project's timeline, determining task dependencies, and calculating durations.
CPM was created in the late 1950s to address the problem of inefficient scheduling leading to higher costs. CPM has been popularized for prioritizing tasks and planning projects. CPM helps you break down complex projects into smaller tasks and gives you a better idea of the project's flexibility.
Why is the Critical Path Method(CPM) important?
CPM provides valuable insights into how to plan projects and allocate resources.
These are just a few reasons to use this method.
1. Future planning is easier CPM allows you to compare actual progress with your expectations. The data from current projects can inform future project plans.
2. Supports more efficient resources management CPM assists project managers in prioritizing tasks and gives them a better understanding of where and how to allocate resources.
3. Avoid bottlenecks Blockages in projects can lead to lost time. A network diagram will help you visualize the dependencies of project activities and allow you to plan accordingly.
How to determine the critical path for any construction project?
The duration of non-critical and critical tasks is what you need to determine the critical path. Here is a list of steps explained in detail:
1. List down all activities To list the tasks and activities required for delivering the deliverables, create a Work Breakdown Structure. It is the basis for the rest.
For example, the project team must complete a Rail Overbridge(ROB).
Once you have a clear understanding of the scope and requirements, you can begin to identify task dependencies.
2. Identify interdependencies Using your work breakdown structure, identify the tasks dependent upon each other. It will help you to identify activities which you can do simultaneously. It is the activity sequence. You can use it to determine a critical path.
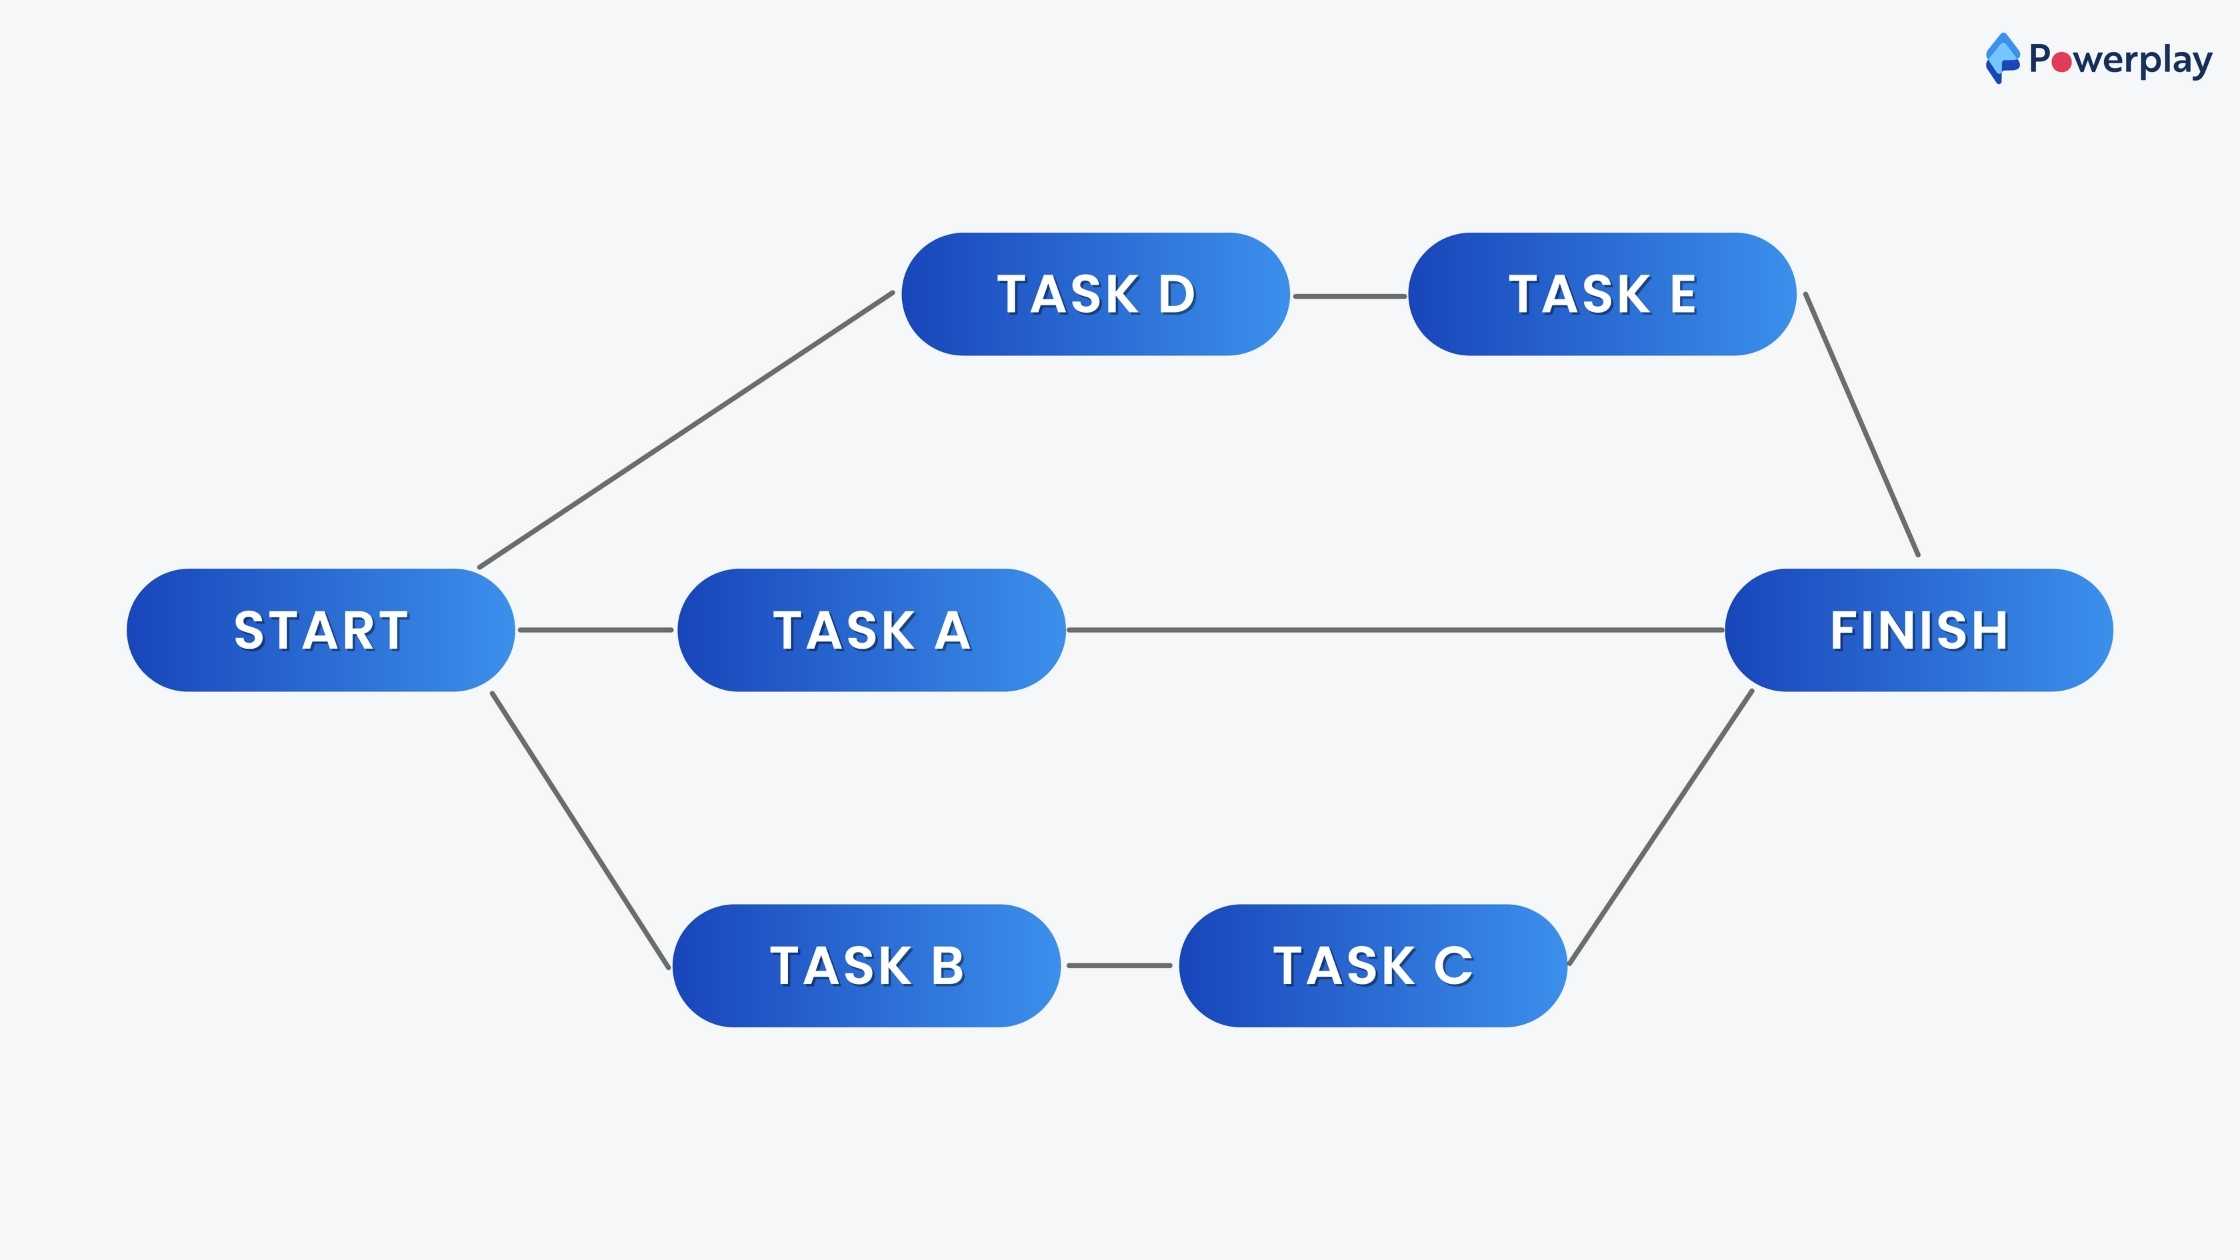
3. Make a network diagram. Next, convert the work breakdown structure to a network diagram. It is a flowchart that shows the chronology of activities. Use arrows to show task dependencies. Create a box for each task.
Once the overall project schedule is in place, you will add time-bound components.
4. Determine Task durations First, estimate the duration of each activity to calculate the critical path. It is the longest sequence possible of critical tasks.
For a rough estimate of the time, make use of the following parameters:
a. Based on knowledge and experience, making educated guesses
b. Based on past project data, estimate
c. Based on industry standards, estimate
Alternatively, you can use the forward pass/backward pass technique where we have:
a. Forward pass This method calculates the early start (ES) and early finish dates (EF) using a pre-specified start date. ES refers to the highest EF value of immediate predecessors. EF is ES + length. The calculation begins at the ES for the first activity and continues through the schedule. You can use the ES and EF dates to allocate resources early in the project.
b. Backward pass This method calculates the late start (LS) and late finish dates (LF). LS stands for the duration, and LF stands for the lowest LS value of immediate successors. The calculation begins with the last scheduled activity and continues backwards through the entire schedule.
It allows you to calculate the float or scheduling flexibility for each task by using the early and late start/end dates.
5. Determine the critical path You can calculate the critical path manually or use a critical path algorithm to save time.
These are the steps you need to follow to calculate the critical path manually:
Step 1
a. Add the start and end times to each activity.
b. The start time for the first activity is 0, and the end time is the duration of that activity.
c. The start time for the next activity is the end of the previous activity. The duration is the total time from the start to the end.
d. This is true for all activities.
Step 2
Determine the length of the entire sequence by looking at the ending time for the last activity.
Step 3
The critical path is the sequence of activities that has the longest duration.
Here's an example of a critical path diagram.
Once you know the critical path, you can create the actual project plan around it.
6. Compute the float
The flexibility a task has in terms of float (or slack) is known as float. It measures the time for which it can delay the task without affecting other tasks or the project's end date.
The float is used to determine how flexible a project is. The float is an asset used to address unexpected problems or project risks.
The critical tasks have zero floating, meaning that their dates are fixed. Non-critical tasks have positive float numbers, which can be delayed but not affect the project's completion date. Non-critical tasks are skipped if you are short on resources or time.
The algorithm can be used to calculate the float or even manually. To calculate the total float or the free float, use the formulae below.
Total float vs free float
Here's a breakdown of the two types of float:
a. Total float The amount of time by which an activity is delayed from the early start date without delaying the project's finish date or violating a schedule constraint. Total float = LS - ES or LF - EF
b. Free float The amount of time an activity is delayed without impacting the following activity. There can only be free float when two or more activities share a common successor. On a network diagram, this is where activities converge. Free float = ES (next task) - EF (current task)
There are a few good reasons why project managers benefit from having a good understanding of float:
a. It keeps projects on track
Monitoring a project's total float allows you to determine whether a project is on track. The bigger the float, the more likely you'll be able to finish early or on time.
b. It helps you prioritize
By identifying activities with free float, you'll have a better idea of which tasks should be prioritized and which ones have more flexibility to be postponed.
c. It is a valuable resource
Float is extra time used to cover project risks or unexpected issues that come up. Knowing how much float you have allows you to choose the most effective way to use it.


